
I have now been through mold remediation twice in my life, and hope to never have to do so again. The first time was when I was in middle school. My family moved out of our house and lived in an apartment for almost a year while the remediation crew tore out our floors and dealt with the mold that was underneath our entire house. Thankfully, the second round was much less of a headache!

A Brief Backstory
My husband and I bought our first home in Tempe, AZ in early 2019. (April 1, to be exact!) We had a thorough inspection and everything looked good, so after a fresh coat of paint, we moved in at the beginning of May, right before our 2 week trip abroad (find all the details on that here and here). Not long after we got back from our trip, I had my quarterly labs drawn and my Hashimoto’s was flared up a little bit. I wasn’t too worried, since international travel can do that. I utilized my usual tools (diet and lifestyle) and re-ran labs 3 months later…only to find them even less favorable.
What made us suspect mold?
Between those two sets of labs (June and September) I had done some additional testing for heavy metals (which were negative) and candida, which was a very low positive and easily treated. I knew my levels of EBV and CMV were under control, two viruses that had been previous triggers of mine, so I turned to mold, as it was one of the things that I had never really tested for. It had always been on my radar since I had a known exposure in childhood, but I just never really got around to testing it before, since I was seeing progress by addressing other things.
Testing for Mold
I first tested myself using the MycoTOX test from Great Plains Laboratory ($300). This looks for mycotoxins excreted through the urine, which are metabolites created by fungi. These mycotoxins are associated with all kinds of chronic health issues, including autoimmunity, cancer, brain fog, chronic fatigue, liver damage, and more. My test came back positive for three different mycotoxins, and was further confirmed through an elevated Complement C4a blood test.
After that I ordered an ERMI test online ($250). This is a dust collection test that you can do yourself and send in for analysis. I now know that the best way to conduct this test is to do a thorough cleaning of the entire house, including vacuuming and mopping, and then minimal cleaning (only essential tasks like sweeping, wiping kitchen counters, and bathrooms) for 4 weeks. At that point, collect the dust sample from “general” surfaces. This means shelves, table tops, etc, but not the top corner of the bookshelf behind the books. It is also not recommended to sample air vents or obvious sources of mold, as these will skew the sample. I didn’t know these “best practices,” but collected and submitted my sample anyway, and the test came back at 21 (optimal <0, >15 is recommended to move out).
At that point, we knew we needed to hire a professional inspector to help us locate the mold and give us recommendations on how to remediate it. The ERMI test showed the presence of mold, but gave us no indication of where or how prevalent it was. We looked into two companies, Yes We Inspect out of CA and Environmental Analytics out of Tucson. Both companies regularly work for clients with chronic health issues, including CIRS (chronic inflammatory response syndrome) and MCS (multiple chemical sensitivity), so I knew they would do a thorough job and be mindful of the chemicals used throughout the process.
We got a quote from each, and ended up going with Michael Schrantz from Environmental Analytics. He gave us the instructions on how to prep the house for another ERMI test, just in case we wanted to do another one while he was there, and we scheduled an inspection date for about a month out.
Professional Mold Inspection
When Mike arrived in early December we did a thorough review of the house history and then walked through every room. He noticed some water staining under our kitchen sink and by the fireplace, so those were our two leads, and then we talked through the different options for testing. We decided to collect two additional ERMI dust samples, one in the front of the house (kitchen, living room, dining room) and one in the back of the house (bedrooms, office). We knew based on my initial test that one or both would be positive, but this would give us a better idea of what areas were actually being affected. We also decided to do two cavity samples, one in each of the water stained areas, which meant putting a small hole in the wall to sample the air in the cavity behind. In addition to these 4 samples, we also collected three control samples (one outside ERMI and two outside “cavity” samples). This is important, because in any environment there will be some natural mold present. The whole process took a couple of hours, we paid our bill ($2,350), and that was it!
Our results came back within one week:
ERMI from the back of the house: negative
ERMI from the front of the house: positive for presence of mycotoxins
Cavity sample from under sink: positive for mold contamination
Cavity sample from by the fireplace: possibly positive, but confounded by debris
Mike sent a full report over to us and then we all got on a call to discuss the plan moving forward. His recommendation was to hire a remediation company to remove the mold from under the sink. He also recommended opening up the area by the fireplace for a visual inspection and subsequent cleaning, if needed. He gave us recommendations for two different remediation companies, Advanced Drying and Artistic Restoration, both out of Tucson. We set up appointments with both of them to have them come look at the space and give us a quote, and ended up going with Dustin of Advanced Drying. We also knew that we would need to hire someone to do reconstruction work, as the remediation would require the removal of all of the cabinetry under our kitchen sink and all of the drywall behind, and got in touch with a general contractor who came by to give us a quote on that as well.
At that point, the holidays hit, and we decided to wait a few weeks to get going, but when things settled down mid-January, we scheduled the remediation to start the first week of February.

Empty kitchen, ready for remediation to start the next morning!
Step 1: Remediation + Confirmation Testing
I don’t want to get too detailed here, because it would take forever, but I’ll hit the highlights. In preparation for remediation, we moved everything out of our kitchen and living room that we could. This meant removing the dishwasher, fridge, emptying all cabinets, etc. We set up our temporary “living room” in one of the spare bedrooms, and a mini “kitchen” (aka dishwashing station and mini pantry) in the second bathroom. (For more severe or widespread cases, it is generally recommended to move out of the house, but we felt confident in our ability to stay isolated in the back half of the house that had a negative ERMI sample.)
When the crew arrived, they set up containments around the kitchen and the living room (thick plastic sheets secured to the walls, floor, and ceiling with tape and staples) to establish an air-tight work area. They also set up large air scrubbers in each containment and one out in the hallway. These ran for 7 days, the whole time that they were working (3.5 days) and until we got confirmation testing results that the mold was gone.
The process itself was pretty simple: they removed all materials that showed any sign of mold growth until they got clear margins by 18” in every direction, then manually scrubbed all of the surfaces that remained. In total, they found about 6-8 sq ft of affected area, all under the sink. They did 3 rounds of cleaning, each one day apart. During the first round, they made a point to establish negative pressure by venting the containment air outside the house, which helped protect against any contaminated air escaping into the rest of the home. Throughout the process, they also applied an antimicrobial paint and used a thyme essential oil based cleaning solution.
After the third round of cleaning, we had Mike come back to the house to collect another round of samples (one in each containment, one in the interior of the house, and control samples). This part is important, because you want to confirm that the mold is actually gone before putting the house back together again. We paid extra to rush the testing of these ($1,450 total, which included Mike’s inspection, sample collection and analysis, and the rush charges), because we were ready to turn the fans off and get our house back! Samples were collected on Saturday and by Monday we got word that we were good to go. The remediation crew came back to collect their equipment on Tuesday, we paid our bill to them ($5,900), and our house was ours again!
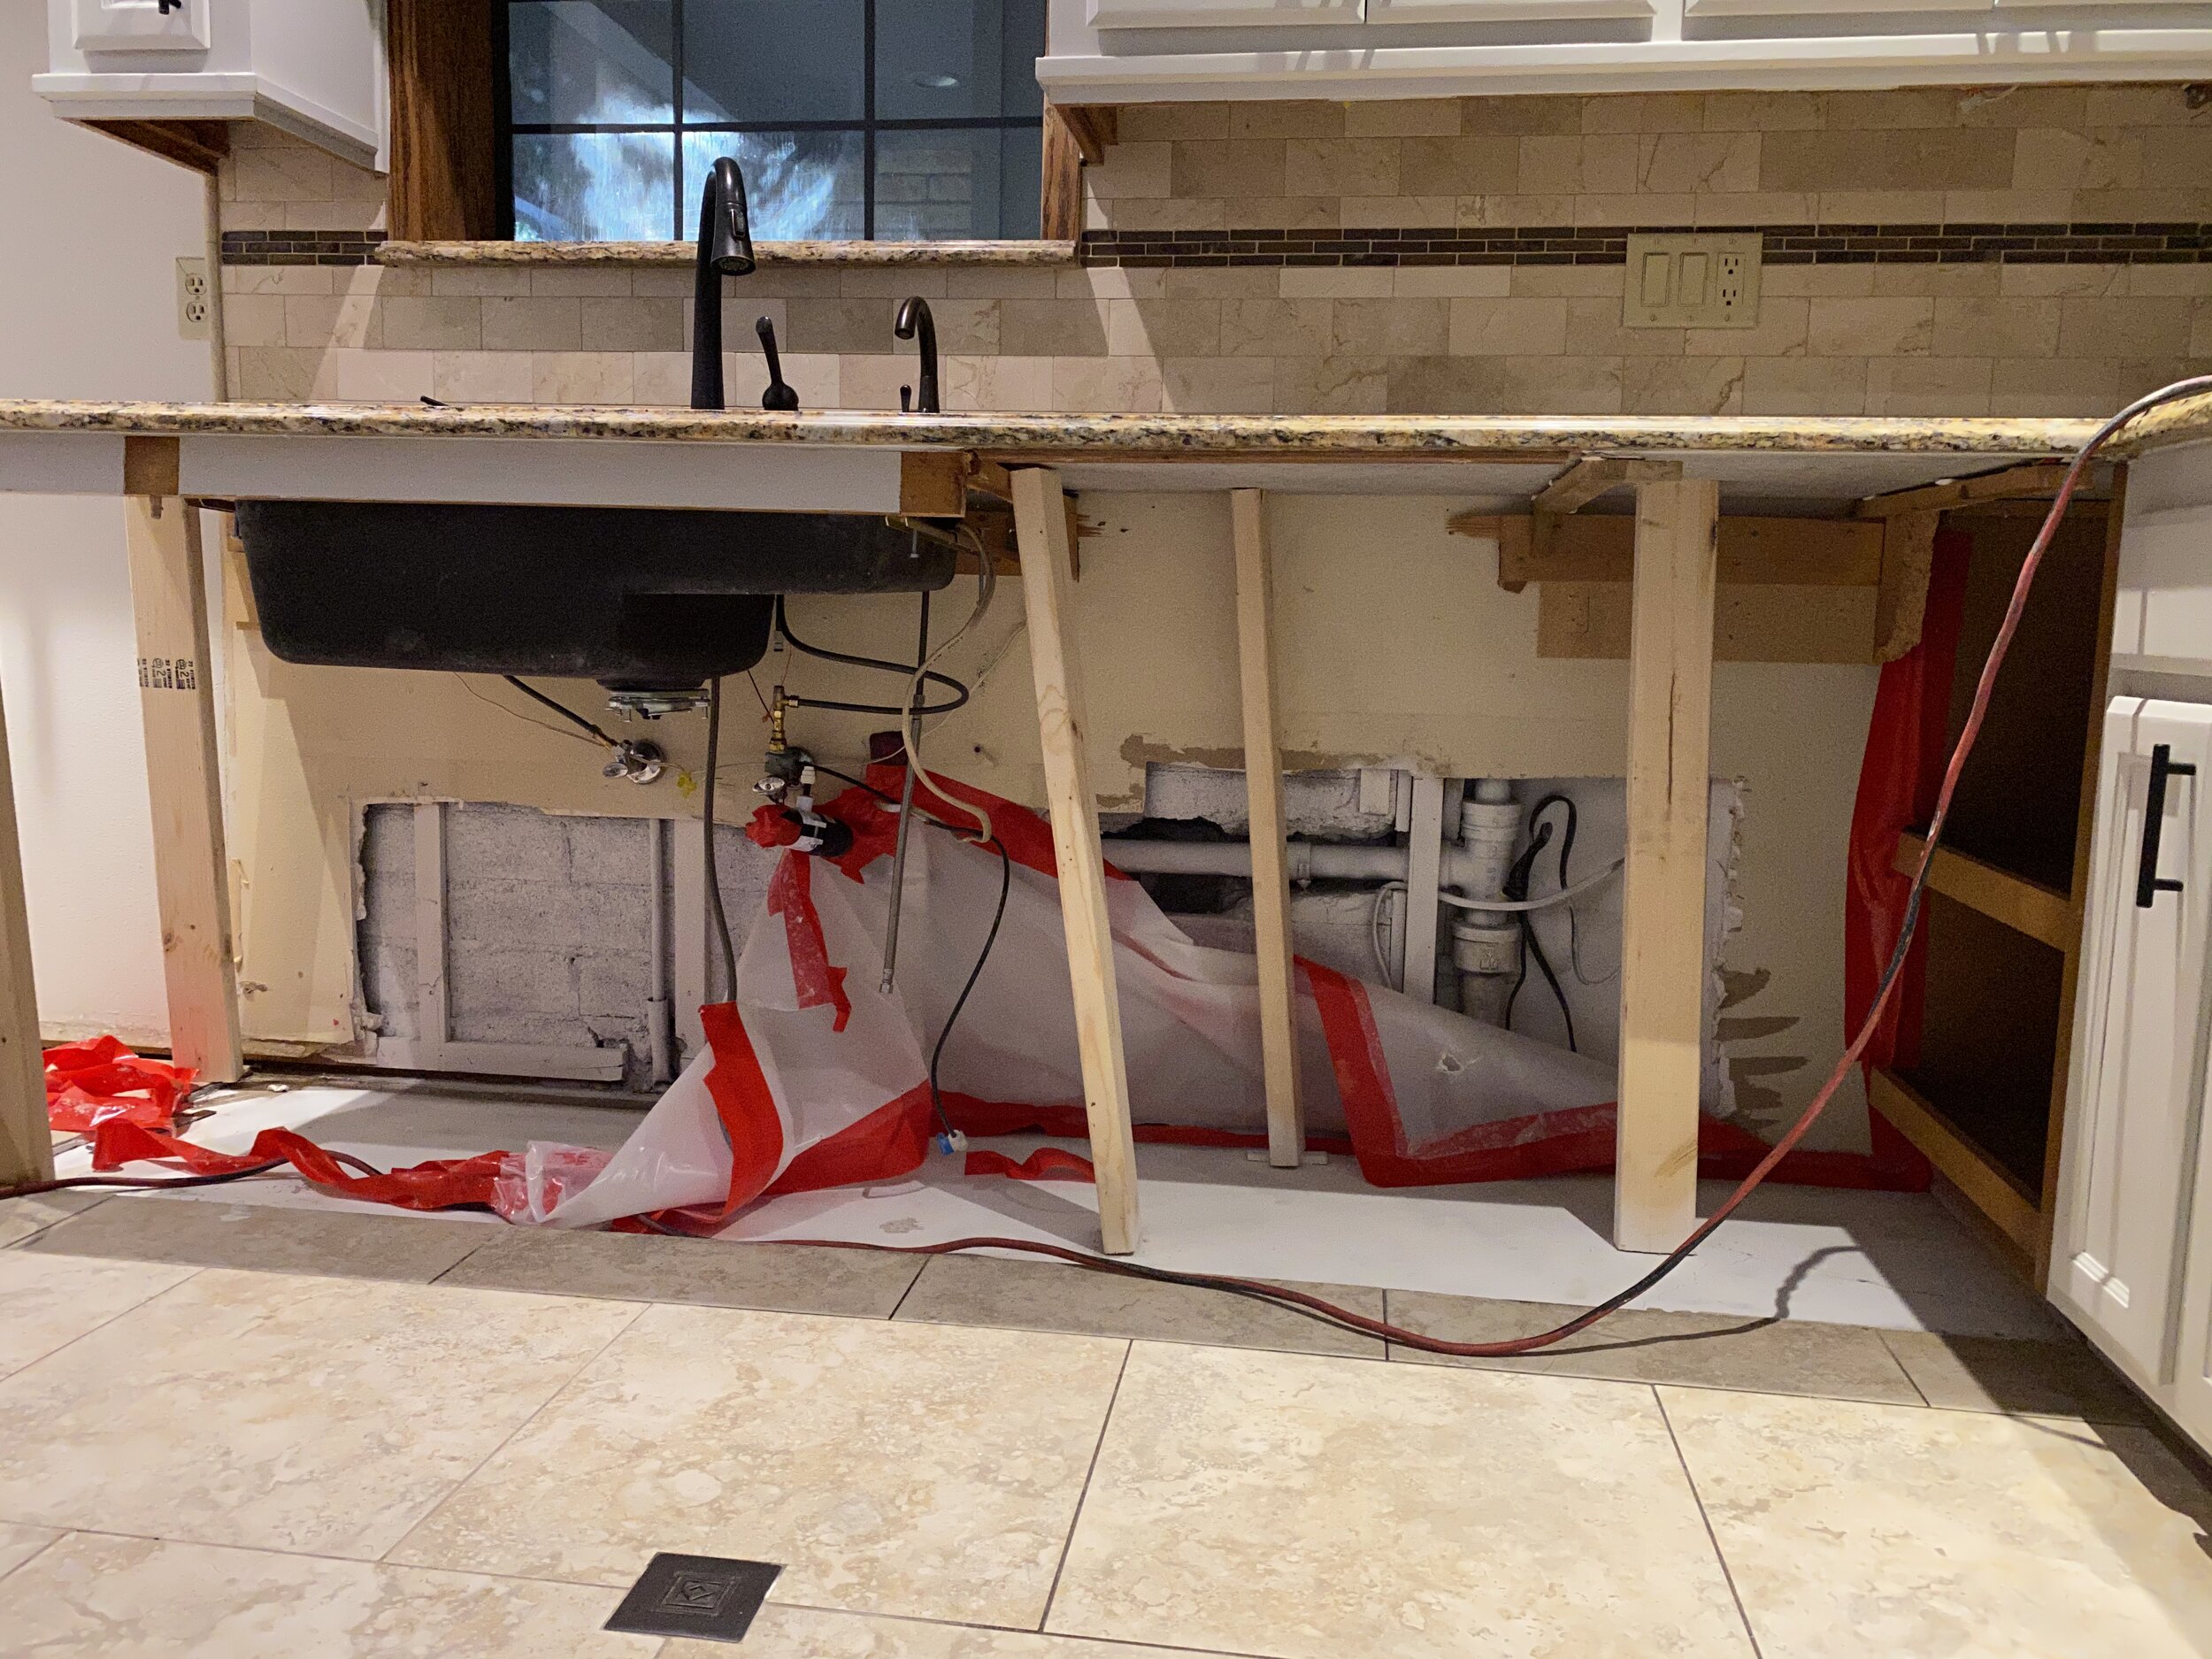
The aftermath of remediation. This was after the remediation crew was done and the confirmation samples had been collected. We were stuck at this point for a few days until the reconstruction crew came in.
Step 2: Reconstruction
The mold was gone, but so was half of our kitchen and living room, and until we could get those things rebuilt, we were still living out of half of our house. We had that local construction company come in and give us a bid on the cost of the possible work early on in the process, but they went MIA for a week. Just when we were about to hire someone else, they sent us a text that said they would be there the next morning at 7am. Once they started, the process took about 4 workdays. I was able to continue working out of the back of the house while they rebuilt our cabinets and patched up the walls and ceiling. In total, reconstruction was $3,400.
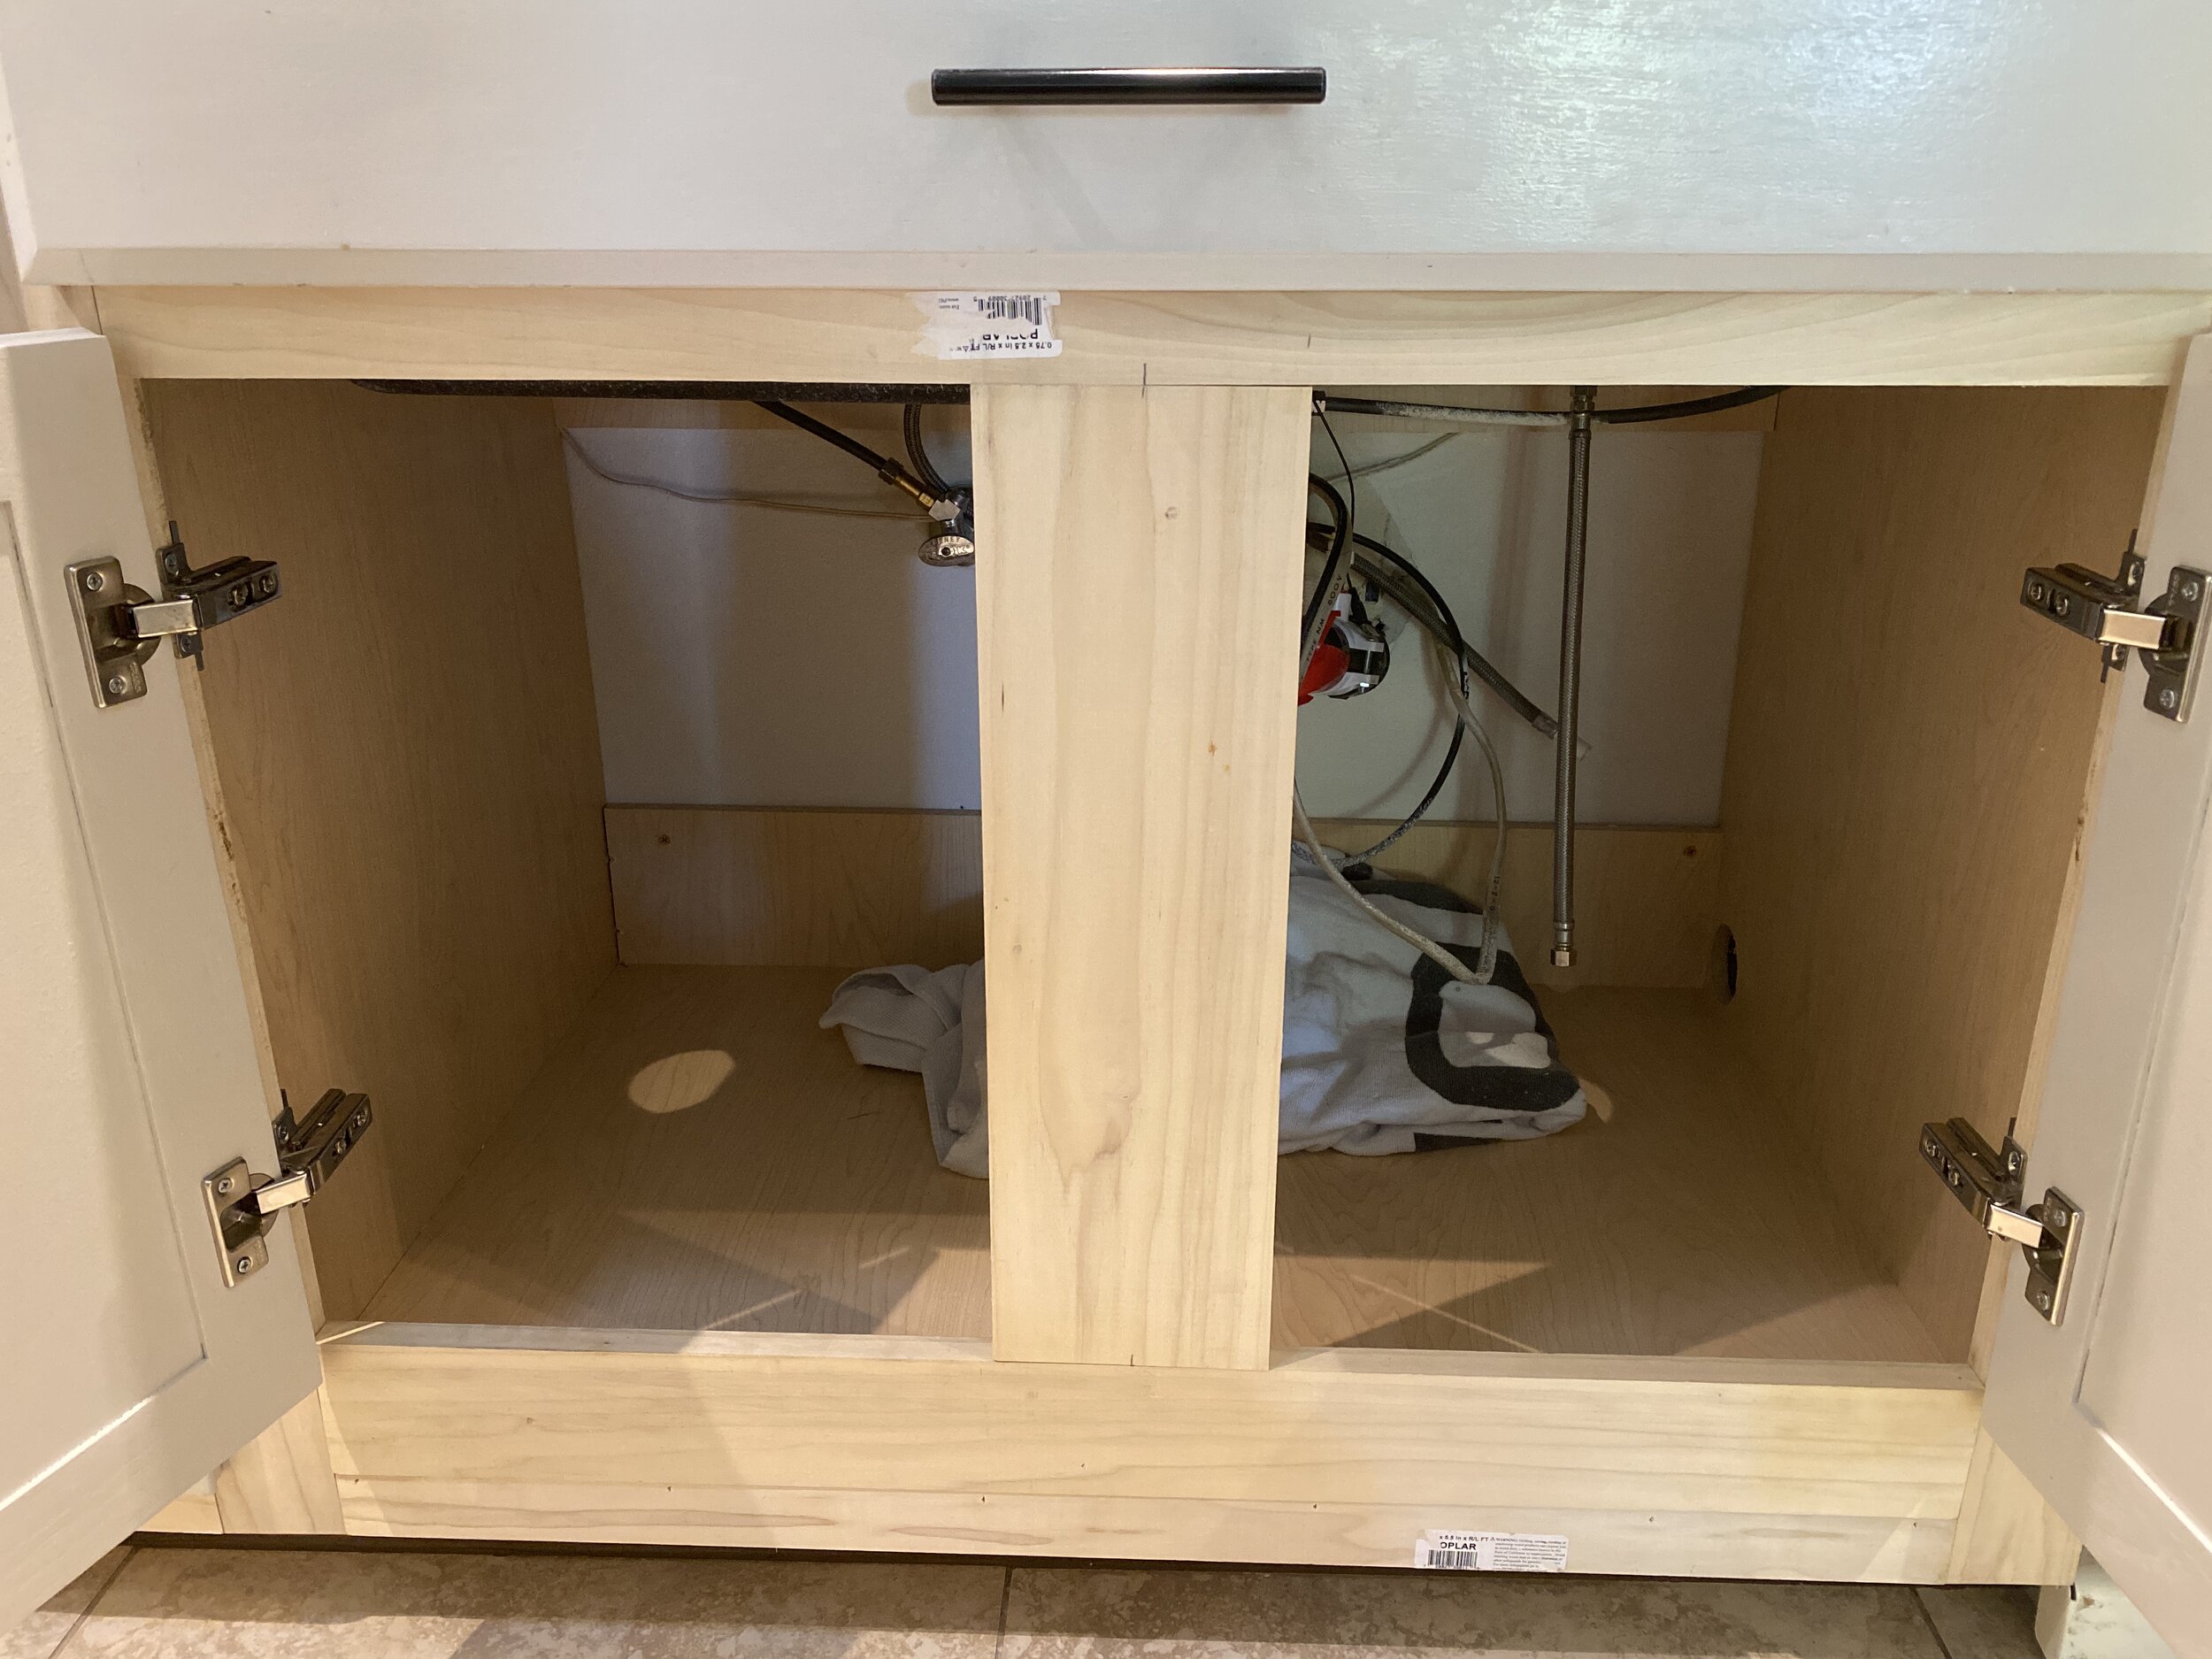
Brand new cabinet! Not quite the same design as before, but we were just glad to be able to use our kitchen again.
Step 3: Duct Cleaning
After the reconstruction was done, we were also advised to have our ducts and HVAC thoroughly cleaned. This makes sense, because if there is mold in the house, the HVAC system was likely picking it up and we wanted to make sure that there weren’t any lingering mold spores that would continue to be distributed throughout the house as we used the heat and AC. Everest Duct was highly recommended to us, but we ended up going with a local company, Wise Ventz, because they were half the cost and we didn’t have any known issues with the duct work. The crew came out and manually cleaned/vacuumed out all of our ducts and scrubbed our vents. Some companies will also apply an antimicrobial, but we chose not to do this since there was no evidence of mold in our duct system. The cost for this was around $500 and it took about 3 hours.
Step 4: Full House Cleaning
Last but certainly not least, we needed to thoroughly clean the entire house, with particular attention to the items that we we took out of the contaminated areas. Mike’s recommendation for this was to use a tiny amount of soap (I used 5 drops of Branch Basics concentrate) to 1 quart of water and wipe everything down with a damp microfiber cloth. For walls and ceiling we used a dry swiffer cloth with the same solution. The goal here is to remove any remaining spores and mycotoxins that were on our belongings. This step took some time, but we did it over the course of the weekend as we put things back in place.
The Big Picture
From the first day of remediation to putting things back in place, the process took us about 3.5 weeks. We had heard it could take up to 6, and at one point were optimistic that it might be done in 2, but we landed right in the middle at 3.5. Including the ERMI test that I did, Mike’s 2 rounds of testing, the remediation, the reconstruction, and the duct cleaning, the total cost was just shy of $14,000. Moral of the story: pay attention to leaks!! This all originated with a dishwasher leak that occurred while the previous owners lived here.
Insurance
Insurance did not cover any of the cost, which meant that this was entirely out of pocket. Typically insurance will only cover mold remediation if it is related to a covered item that breaks and causes a leak while the current policy is in effect. Since the damage occurred before we bought the house, it didn’t qualify. Lesson learned….next time we buy a house we’ll be hiring a professional mold inspector to come through before we finalize the offer. Mold is more common than you think!
My Detox Protocol
Getting the mold out of the house was one thing, but getting it out of my body was another. If you want all of the details on THAT part of the process, head on over to this post!
A Few FAQ’s
Could we have done it ourselves? Honestly, no. We didn’t have the skills to remove the cabinet, know how to support the granite countertop, or want to be around the mold. I have heard of some people who do this on their own, but we didn’t want to risk something going wrong or having a health flare up.
How do we know it wont come back? Believe me, it’s been on my mind, especially because this originated from a dishwasher leak and that isn’t something that is easy to check for. When we reinstalled everything, we ran the dishwasher a couple of times and then checked behind it for any leaks, but other than that, it just comes down to paying attention. I have heard a great suggestion of putting plastic tubs under the sinks in the house to catch any leaks, and I do think that is a great suggestion since those are common culprits.
Did your husband have any symptoms? Nope! Remember, this whole process started because my Hashimoto’s flared up. He had no symptoms at all, and I do think that a majority of people could have lived in this situation and not ever even know it. However, I do believe that mycotoxins are a hidden source of malaise in many people, and my symptoms gave us the opportunity to catch this early on and fix the problem before it led to more chronic/severe issues down the line.
Whew, what a process! Definitely not something that we were planning to deal with in the first 9 months of home ownership, but here we are. I hope this post is helpful to someone else out there who is going through the same thing!
Until next time,
Tracey